Mastering Acrylic Ink Flow Control for Fine Art Calligraphy
Facts:
- Acrylic ink is pigment-based, making it lightfast and permanent.
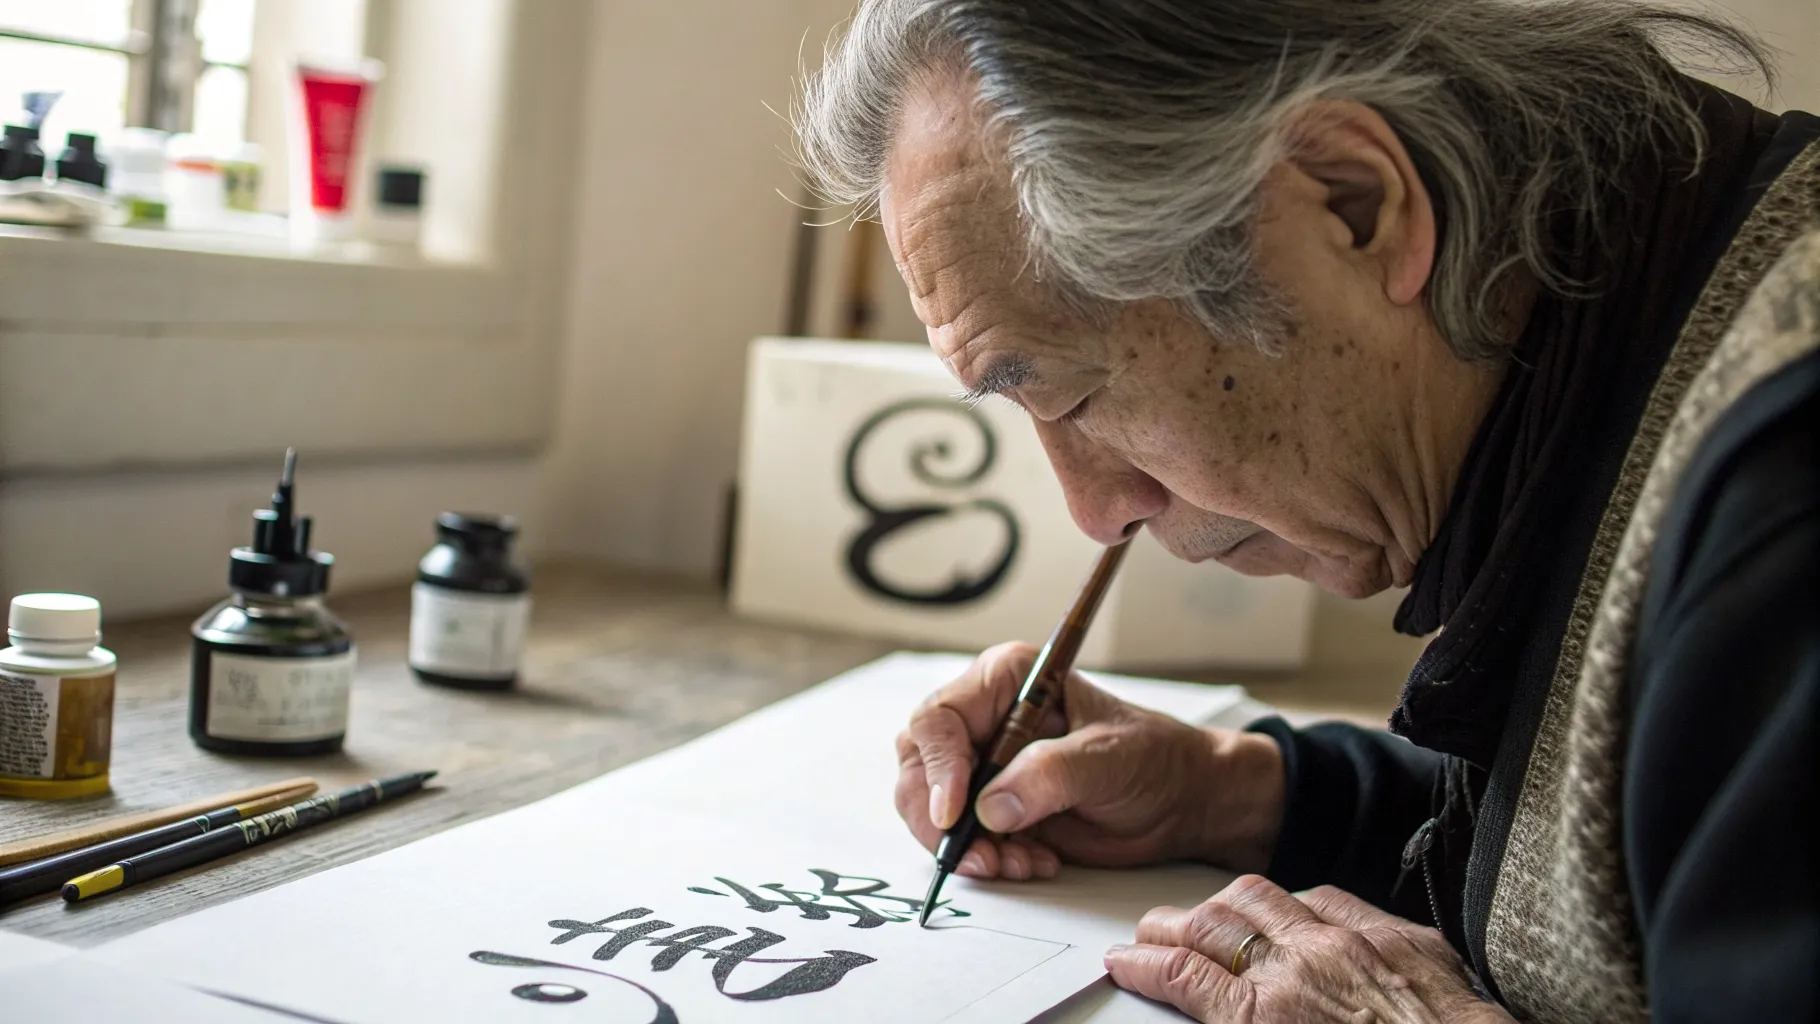
- A growing trend is the formation of hand lettering study groups seniors exploring new mediums.
Unlocking Fluidity: The Art of Acrylic Ink Control in Calligraphy
Achieving the perfect, consistent line in fine art calligraphy is a goal for every artist, from the novice to the seasoned professional. The secret often lies not just in the hand's steadiness but in mastering the medium itself. Acrylic ink, with its vibrant, permanent nature, presents unique challenges and rewards. Understanding how to control its flow is paramount to creating elegant, expressive lettering. This comprehensive guide will delve into the essential techniques, from adjusting viscosity to choosing the right tools, making it an ideal resource for those joining ink manipulation workshops retirement or any artist looking to elevate their craft. We will explore how proper ink management transforms good lettering into exceptional art, providing a solid foundation for your calligraphic journey.
Core Principles of Ink Viscosity for Calligraphers
The heart of acrylic ink flow control is understanding and manipulating its viscosity. Unlike traditional inks, acrylic ink is a suspension of pigment in an acrylic polymer emulsion. Its out-of-the-bottle consistency can be too thick for the delicate channels of a fine calligraphy nib, leading to clogs and inconsistent lines. Conversely, over-thinning can cause the ink to bleed on the paper, ruining crisp edges. The key is finding a balance. Artists often use an acrylic flow improver or distilled water to thin the ink. A good starting ratio is a few drops of thinner per small inkwell, but this varies by brand and ambient humidity. This process is a cornerstone in any informative guide to typography basics, as the weight and consistency of a line fundamentally define the character of a letterform. Regular practice in mixing and testing on scrap paper is essential to develop an intuitive feel for the right viscosity for your specific project and tools.
Choosing Your Tools: Nibs, Pens, and Surfaces
Your chosen tools have a profound impact on how acrylic ink behaves. The nib, in particular, is critical. Flexible pointed nibs, like the Nikko G or Hunt 101, are popular but can be prone to clogging if the ink is too thick. Broader-edged nibs used for styles like Italic or Gothic can handle slightly thicker inks but still require a smooth flow. It's crucial to clean your nibs frequently—not just after a session, but every few minutes of use—by dipping them in water and wiping them with a lint-free cloth. The paper surface also matters immensely. Smoother, less absorbent papers like Bristol board or high-quality marker paper prevent the ink from feathering. For those engaged in understanding script writing layout circles and complex compositions, a predictable ink flow on a reliable surface ensures that intricate designs can be executed without technical failures. Experimenting with different combinations of nibs and papers will reveal the optimal setup for your style.
Practical Drills for Perfecting Your Ink Flow
Consistent practice is the only way to master acrylic ink control. Specific drills can accelerate this learning process, making them a popular activity in hand lettering study groups seniors. These exercises are designed to build muscle memory and a deeper connection between your hand, the pen, and the ink. By focusing on fundamental strokes, you can fine-tune your ink's consistency and your pressure control simultaneously, leading to more fluid and graceful script.
- The Basic Stroke Drill: Create pages of simple upstrokes (thin) and downstrokes (thick). The goal is to achieve a uniform line width and ink density on all downstrokes without any 'railroading' (where the nib tines spread and leave two thin lines instead of one solid one). This drill helps you find the perfect ink viscosity.
- The Oval and Circle Exercise: Practice drawing continuous ovals and circles without lifting the pen. This is essential for understanding script writing layout circles and forming letter bodies. It tests your ability to maintain consistent pressure and ink flow through changes in direction.
- The Connecting Strokes Drill: Write long, flowing, connected lines like a series of 'm's' or 'u's'. This drill highlights any issues with ink drying too quickly on the nib or flow inconsistencies over a longer passage of writing, a common focus in ink manipulation workshops retirement.
Joining a Community: Learning and Growing Together
While solo practice is vital, the journey of mastering calligraphy is often enriched through community. Engaging with fellow enthusiasts provides encouragement, feedback, and shared knowledge. This is especially true when tackling the nuances of specific materials like acrylic ink. Many find that joining calligraphy classes for older adults offers a structured and supportive environment to overcome common hurdles. In these settings, instructors can provide personalized feedback on everything from your grip to your ink mixture. Similarly, less formal hand lettering study groups seniors create a space for peer-to-peer learning, where members can share their discoveries about which ink brands work best or what techniques prevent clogging. These communities are invaluable resources for staying motivated and continuously improving your artistic skills.
Frequently Asked Questions
How do you prevent acrylic ink from drying on the nib?
Acrylic ink dries quickly due to its polymer base. To prevent it from drying on your nib, work efficiently and clean the nib every few minutes. Keep a small jar of water and a lint-free cloth handy. A quick dip and wipe are usually sufficient to keep the ink flowing smoothly. This is a crucial technique taught in many calligraphy classes for older adults.
What is the main advantage of using acrylic ink for calligraphy?
The primary advantage of acrylic ink is its permanence and lightfastness once dry. It is water-resistant, which is excellent for finished artwork that may be exposed to moisture or requires watercolor washes over the top. Its vibrant, opaque colors are also a major draw for many artists.
Can I mix different brands of acrylic ink?
While it is generally possible to mix different brands of artist-grade acrylic inks, it's best to test a small batch first. Different formulations might have slightly different chemical properties, which could affect the consistency or finish. This kind of experimentation is a fantastic topic for hand lettering study groups seniors.
Is acrylic ink suitable for beginners in calligraphy?
Acrylic ink can be challenging for absolute beginners due to its quick drying time and the need for viscosity management. However, with guidance from an informative guide to typography basics or a workshop, a determined beginner can certainly learn to use it effectively. Starting with a more forgiving ink like Sumi or India ink might be easier before moving on to acrylics.
References
- The Calligrapher's Bible: 100 Complete Alphabets and How to Draw Them
- Modern Calligraphy: Everything You Need to Know to Get Started in Script Lettering
- The Art of the Pen: Calligraphy from the Court of the Mughals
- Materials and Techniques of Manuscript Production
Authored by FreshLifeWire team